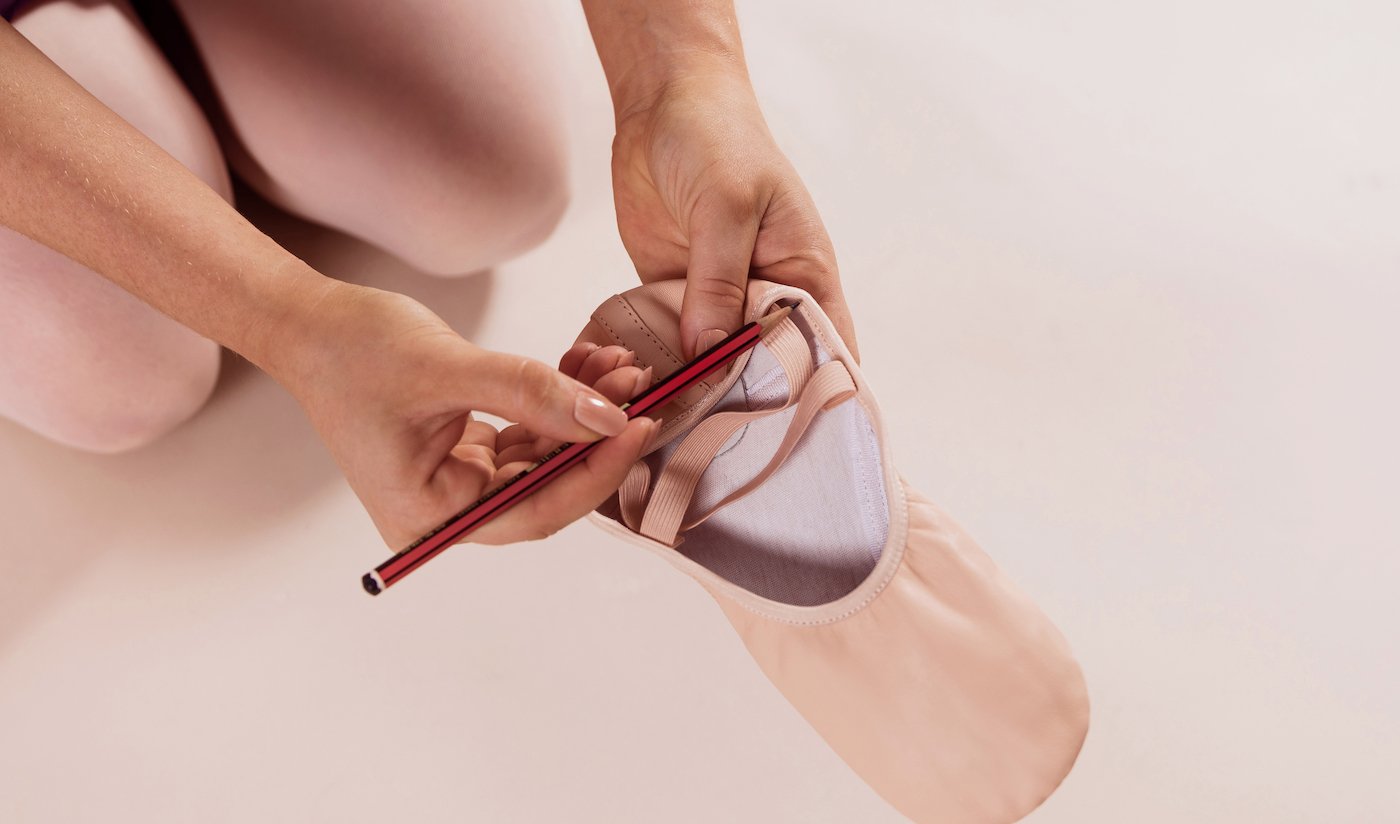
Fold the shoe: After threading your needle, hold the back of your ballet shoe and fold the heel over towards the toe of the shoe until it is lying flat, creating a gentle crease line.
Draw a pencil line: With your pencil, create faint lines on both edges of the cotton lining within the shoe (where the folded heel’s edges align with the shoe’s sides). These markings will serve as your reference points for ribbon attachment. After marking both sides, carefully unfold the shoe in readiness for the sewing process.
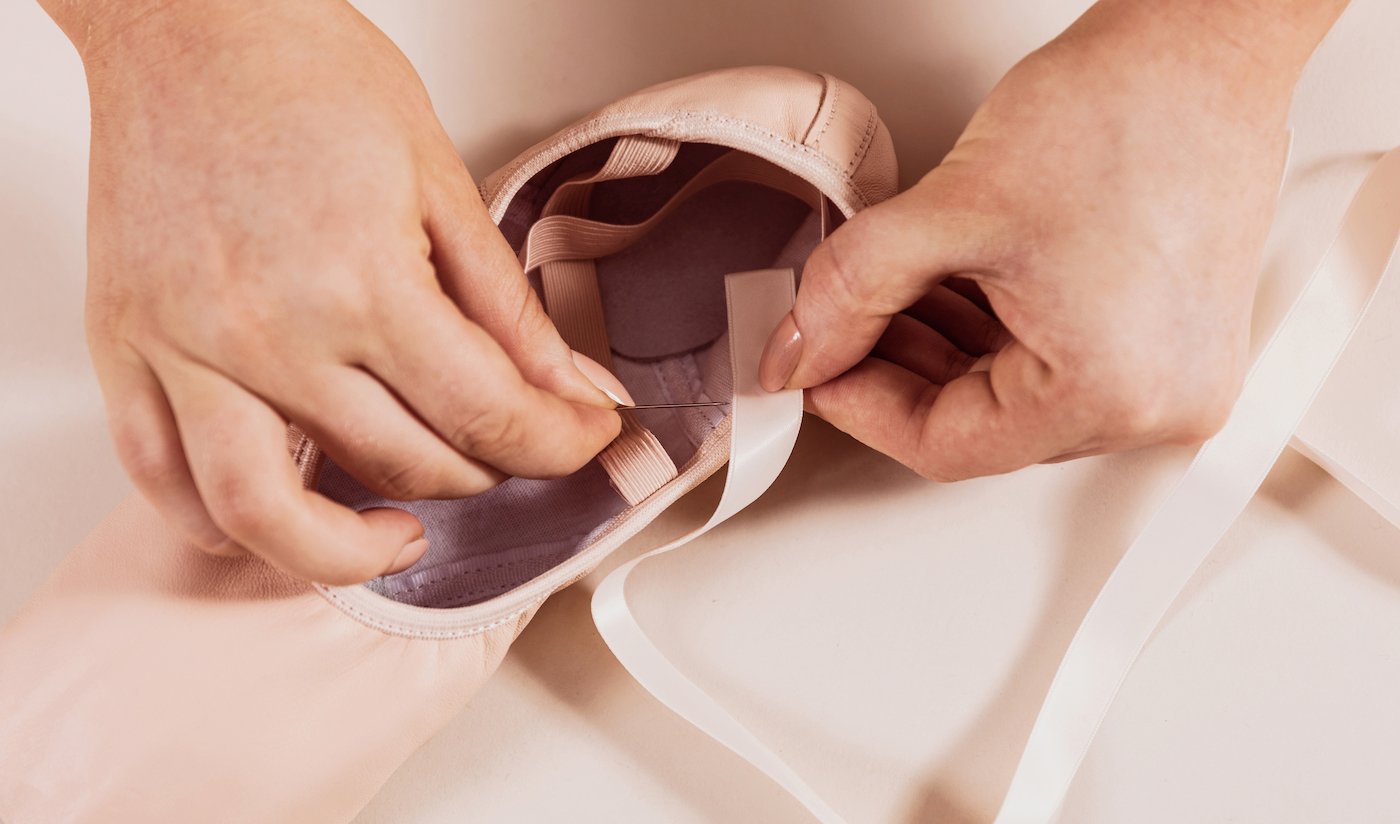
Position the ribbon: Begin with your pencil marking as a reference. Place the initial ribbon segment onto the shoe’s inner lining, angling it slightly diagonally (this ensures a snug fit around the ankle when tied). Allocate about 4cm of ribbon to rest against the inner lining.
Sew the ribbons: Sew tiny stitches along the perimeter of the 4cm ribbon section, fastening it onto the inner cotton lining of the shoe. Replicate this procedure for the opposite side and repeat for your second shoe, ensuring that the ribbon angles are mirrored to achieve a uniform and balanced outcome.
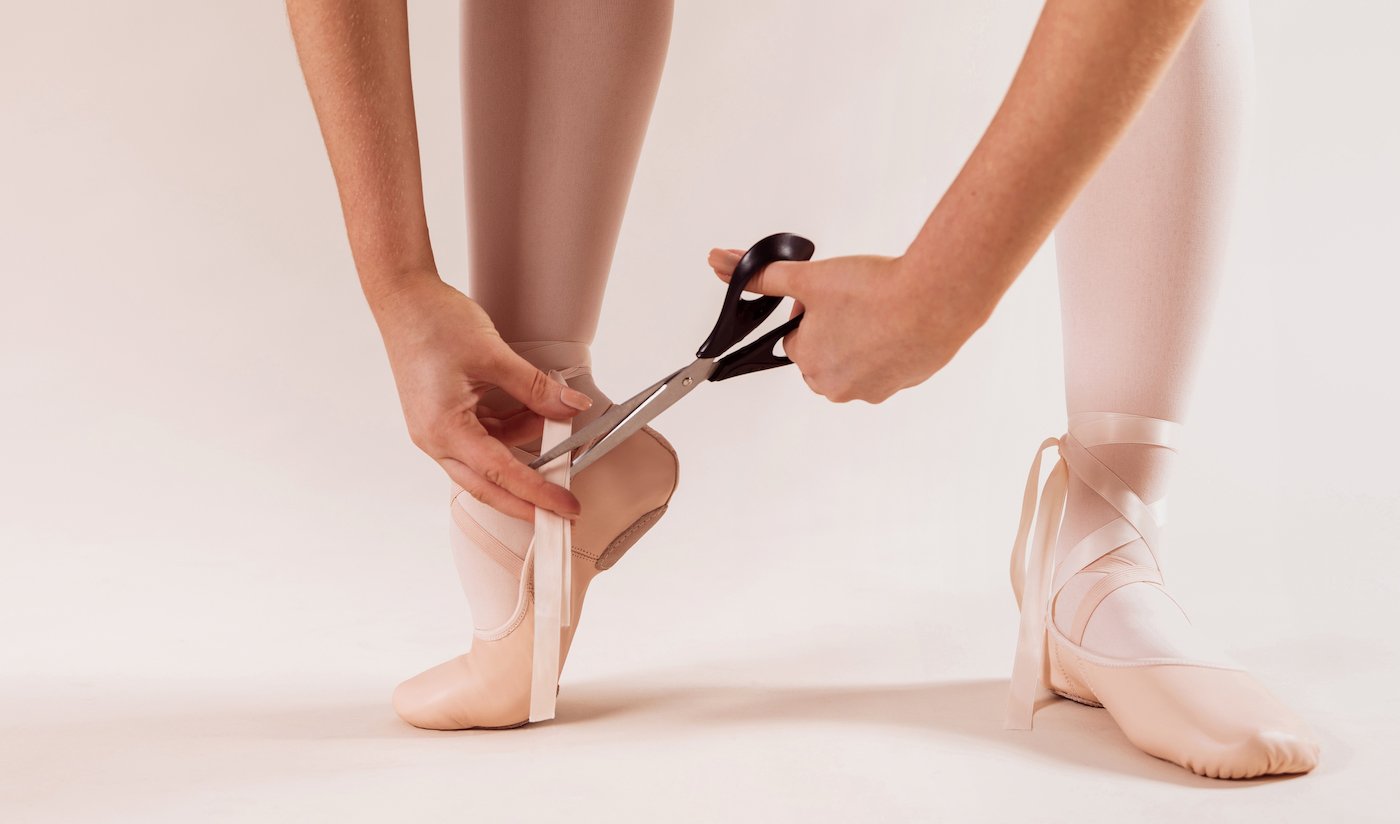
Tie & trim ribbons: Put ballet shoes on and tie your ribbons. Wrap each ribbon length around your ankle twice, forming a secure hold, and then tie a double knot at the inner ankle. You may need to trim the ends so there is only 3-4cm of excess. To stop the ribbon from fraying you can use some clear nail polish to help seal it.


No Comments
Sorry, the comment form is closed at this time.